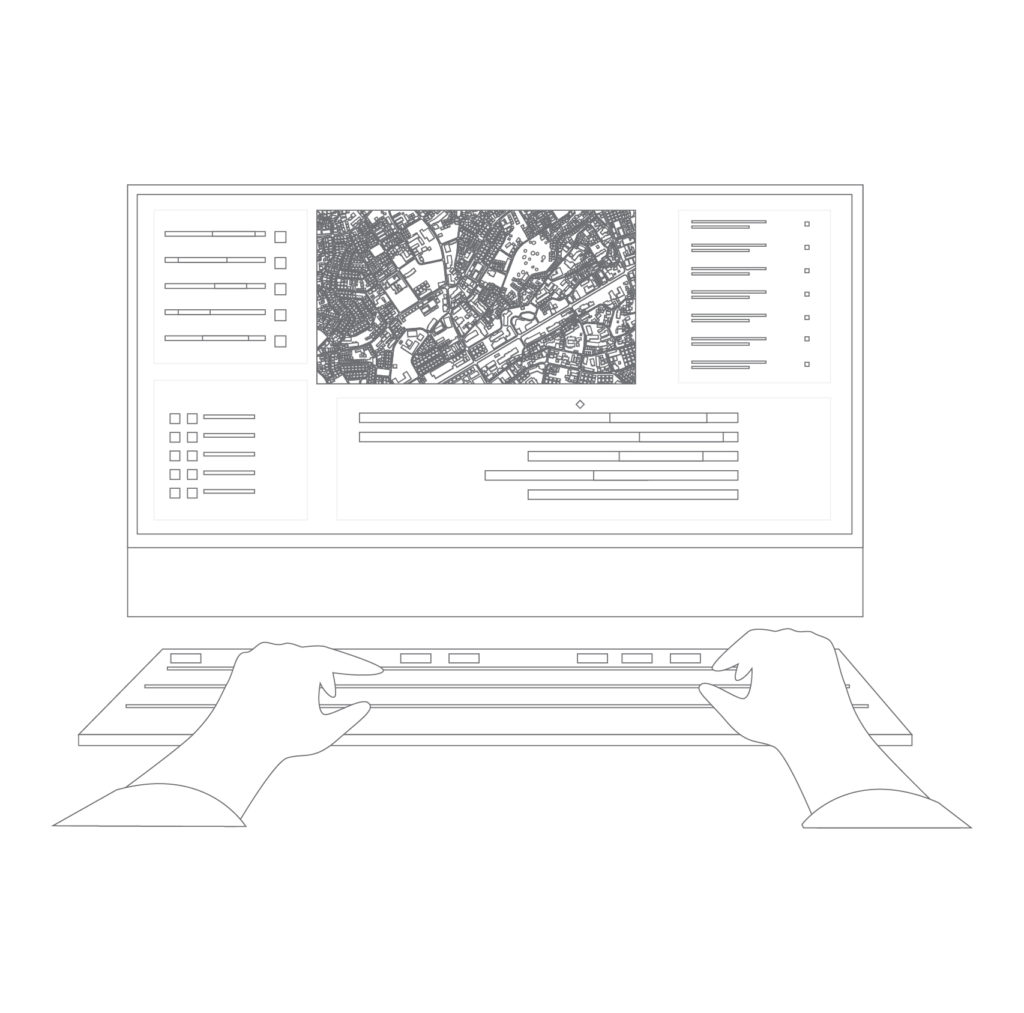
When missionizing aircraft for ISR, search and rescue, law enforcement, or other types of operations, your choice of mission monitor display—also known as a multi-function display, or MFD—will have a significant impact on operator workload and mission effectiveness.
In choosing an MFD, system integrators need to be very aware of the operating conditions and concepts for the installation. It’s also a good idea to consult with human factors specialists who can provide guidance on ergonomics, tasking, and the minimization of operator fatigue.
With that in mind, and with the help of some of our partners, our integration specialists have put together this guide to selecting a mission monitor display. It has been designed to help you select a display that will not only meet your requirements but also help maximize operator efficiency, safety, and your fleet’s operational effectiveness.
With over 500 system integrations of our mission software, CarteNav has worked closely with numerous mission monitor display manufacturers and their users to optimize mission performance. Additionally, we do not sell mission hardware; our interest is to provide an unbiased and well-rounded guide that will help you make an informed decision.
We hope you will find this guide and the accompanying checklist useful when you’re choosing your next mission monitor display.
Sincerely,
The Team at CarteNav
Download Printable PDF
Download the PDF version for printing and sharing.
Key Factor #1: Sunlight Exposure
When choosing an MFD to be mounted under a glass canopy or beside a window, sunlight-induced screen glare should be an important factor in your decision. A display that’s difficult to read will have negative impacts on operator effectiveness and mission outcomes.
Sunlight readability is a function of:
- Reflection
- Brightness
- Contrast
Good sunlight readability can be achieved through a combination of high contrast LCD panels, extra bright LED backlights, and specialized films and surface treatments held together through an optical bonding process. If a manufacturer’s product literature lists these features or mentions testing with reflection, brightness, and contrast in mind, they may have taken these requirements into account.
Still, it’s worth asking manufacturers about their approach to dealing with this factor, as well as the test results they’ve achieved for the displays you’re considering. Mention of these terms in marketing content is no guarantee of good sunlight readability.

Key Factor #2: Low light and NVG Requirements
If a display will be used in low light or with night vision goggles (NVG), look for broad dimming ranges and NVG-compatible backlighting.
In both low light and NVG situations, displays need to be dimmed so operators can shift their eyes from outside the cockpit to the display and back again without being temporarily “snow blinded” by the display lighting. In other words, situations, where the operator’s eyes must adjust to large swings in light intensity, must be avoided. Such conditions reduce the crew’s reaction and response time in critical situations.
For dimming, rotary buttons are preferred (though not essential) as they permit immediate dimming of the screen. If push-button dimmers are used, verify the dimming range can be adjusted quickly. Dimming controls may include a Day/Night mode button.
Also, the display should save brightness settings between shutdowns. Operators tend to agree: there is nothing worse than landing after a night op and having the screen default to 100% brightness on the next startup.
Finally, if its product literature makes no mention of NVG compatibility or its performance in extreme lighting conditions, chances are the display is not a good candidate for low light and NVG missions.
Key Factor #3: Screen Resolution and Frame Rate
Screen resolution and frame rate are important factors when ensuring compatibility with sensors.
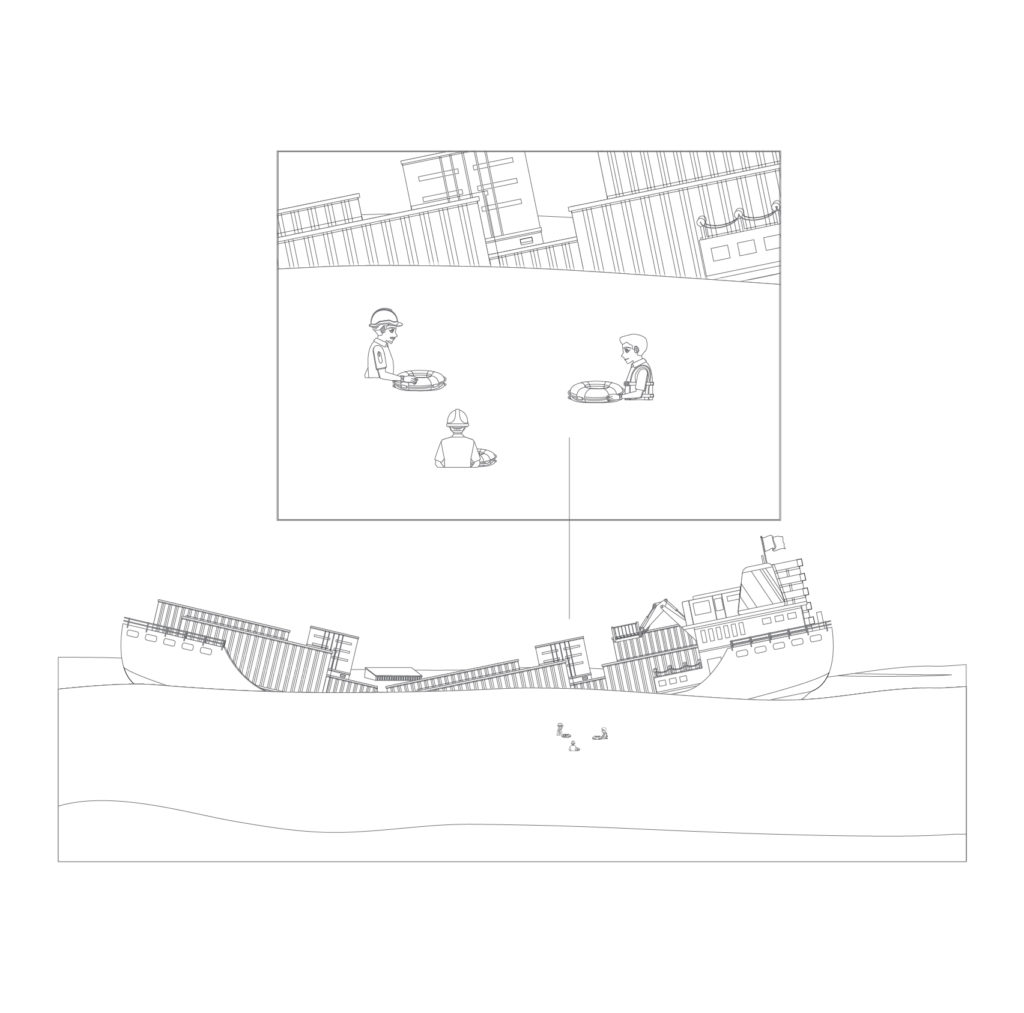
Resolution determines the operator’s ability to discern small details on the screen. The higher the resolution, the easier it is to identify details at distance, like a person’s head bobbing in the water from 10,000 feet, for example.
The role of the user should also be considered. For a pilot getting a general sense of position from a moving map display, high resolution is not terribly important. For a back seat operator, on the other hand, resolution can be critical, especially for missions like search and rescue, law enforcement, and asset inspection. You should, however, consider the prospects for future growth of the platform, i.e., sensors that might be added later.
Frame rate is also important to back seat operations, as the display should not be pixelating when the screen image is changing rapidly.
In general, look for an MFD that can display full 1080p60/50 HD resolutions. Many displays support 1080p30/25 but are unable to accept full 3G-SDI video signals.
Key Factor #4: Aspect Ratio Relative to Incoming Video
Aspect ratio refers to the relative horizontal and vertical dimensions of the display screen.
Ideal aspect ratios can be determined from intended use. For example, CarteNav’s intelligence, surveillance, and reconnaissance solution, AIMS-ISR, can best be optimized for a high-aspect-ratio display. More buttons across the longer sides of the display provide greater functionality at the operator’s fingertips. Such displays also allow maximum use of the display area in split-screen mode. This can be highly valuable when sensor video and a moving map are displayed side by side.
Also, consider the aspect ratio of the display relative to incoming video. Ensure the display supports unaltered scaling effects, so video presentation will not be distorted. Finally, be sure there are built-in options for handling incoming video that does not match the native aspect ratio of the display.

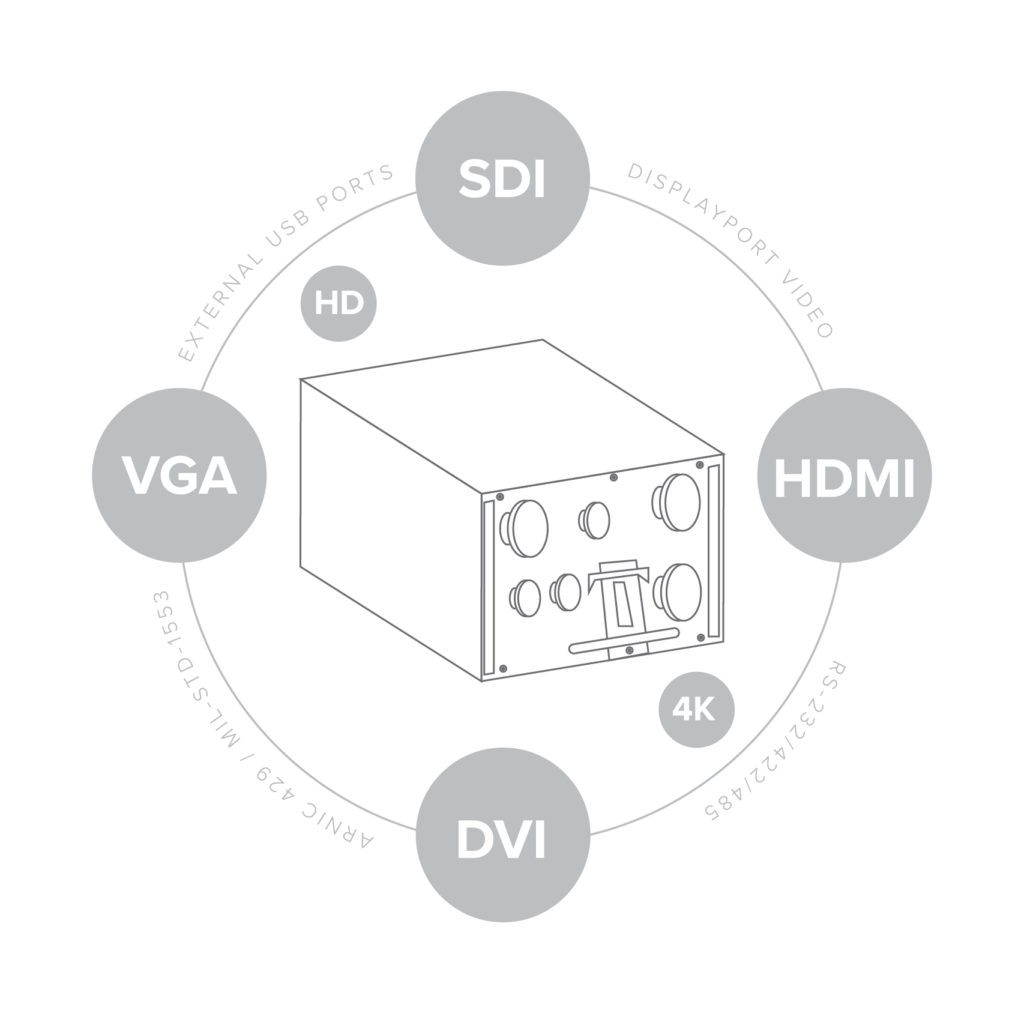
Key Factor #5: Number and Types of Video and Data Inputs
The number and types of video and data connections a display offers are key for integrating with:
- Special mission computers
- Platform instrumentation graphics processors
- Moving map systems
- ISR systems
- Sensors of all kinds
The interface types you need will depend upon the types of systems that will be integrated with the display, as well as the functionality of the display itself. Touchscreens will typically have a USB input. Displays with either hard or soft key buttons on the display will likely require some sort of a serial input (RS232 or RS422).
Check the formats of the raw video feeds from EO/IR turrets, radar systems, and any other sensors that will be integrated with the display. The number of each input type you need will depend not only upon the number of sensors and systems that will feed with the display but also the number of video feeds each one supports. In addition, be sure to factor in potential growth, so you’ll get the greatest return on your investment.
In some instances, the integrator may need to consider using an external video switch with a built-in video converter (or external video converter) to accommodate monitors that don’t have many options for inputs.
Key Factor #6: Ergonomics and Crew Safety
Ergonomic functioning is critical to the operator’s well-being and effectiveness. Display selection and placement should facilitate:
- Ease of use
- Operator communication
- Co-monitoring of displays
- Ability to take quick action
Furthermore, any configuration should avoid visual and physical strain for the operator, a priority commonly cited by experienced pilots.
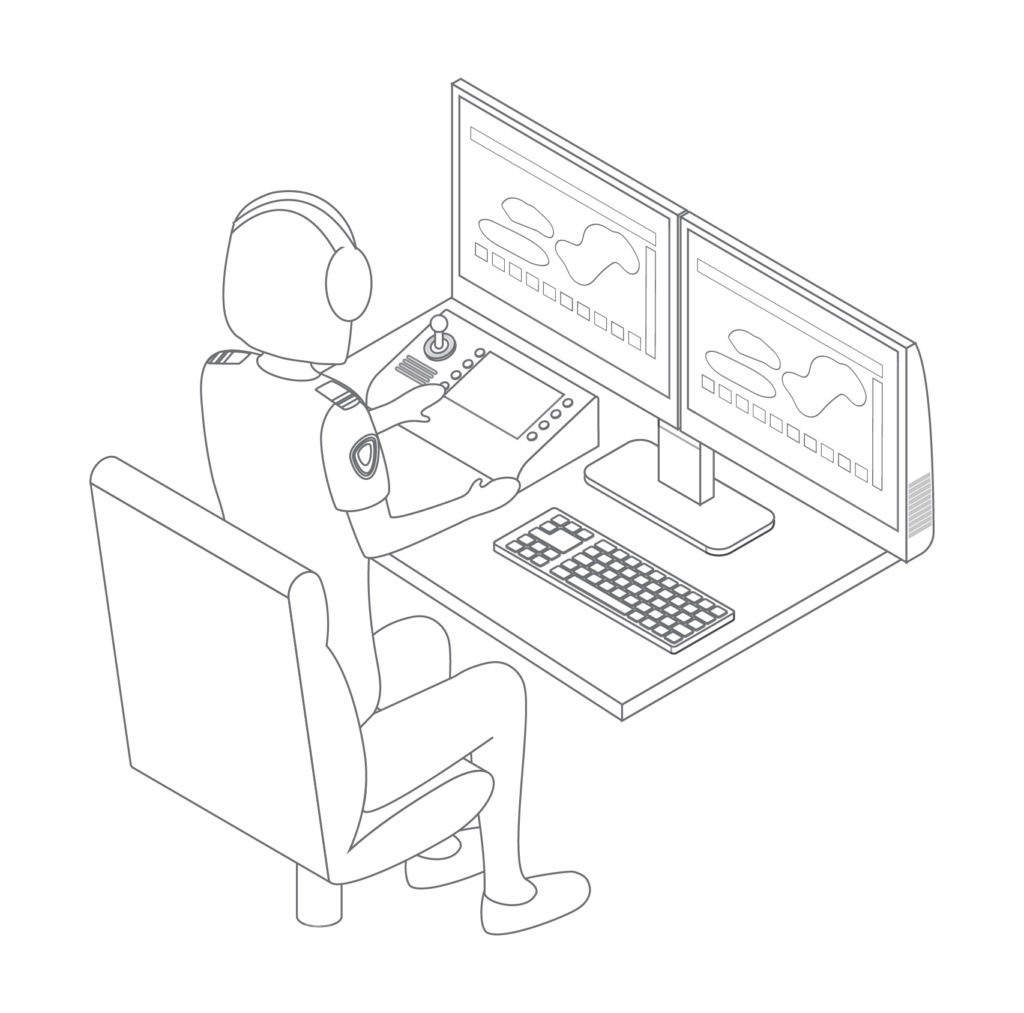
Sizing and placement of displays within the cockpit or cabin require careful planning. The choice of display size comes down to ergonomics and human factors. The larger the display, the clearer the picture an operator can get of a given situation. A display that is too large, however, can require excessive head and eye movement which can contribute to fatigue.
Look for display options such as portrait orientation, flip options, and dual monitors. As in an office setting, a mission display configuration might have a dual monitor setup with an “extended desktop,” allowing information to be spread across multiple screens. Multiple displays—for example, with EO/IR video on one display and a moving map overlay on the second—can allow greater flexibility and video enhancement compared to a single display using a split-screen presentation (when the available space allows).
Accessories like arms and controllers can be incorporated to improve ergonomics and operability. The former can also allow displays to be stowed during take-off and landing if needed.
Download Printable PDF
Download the PDF version for printing and sharing.
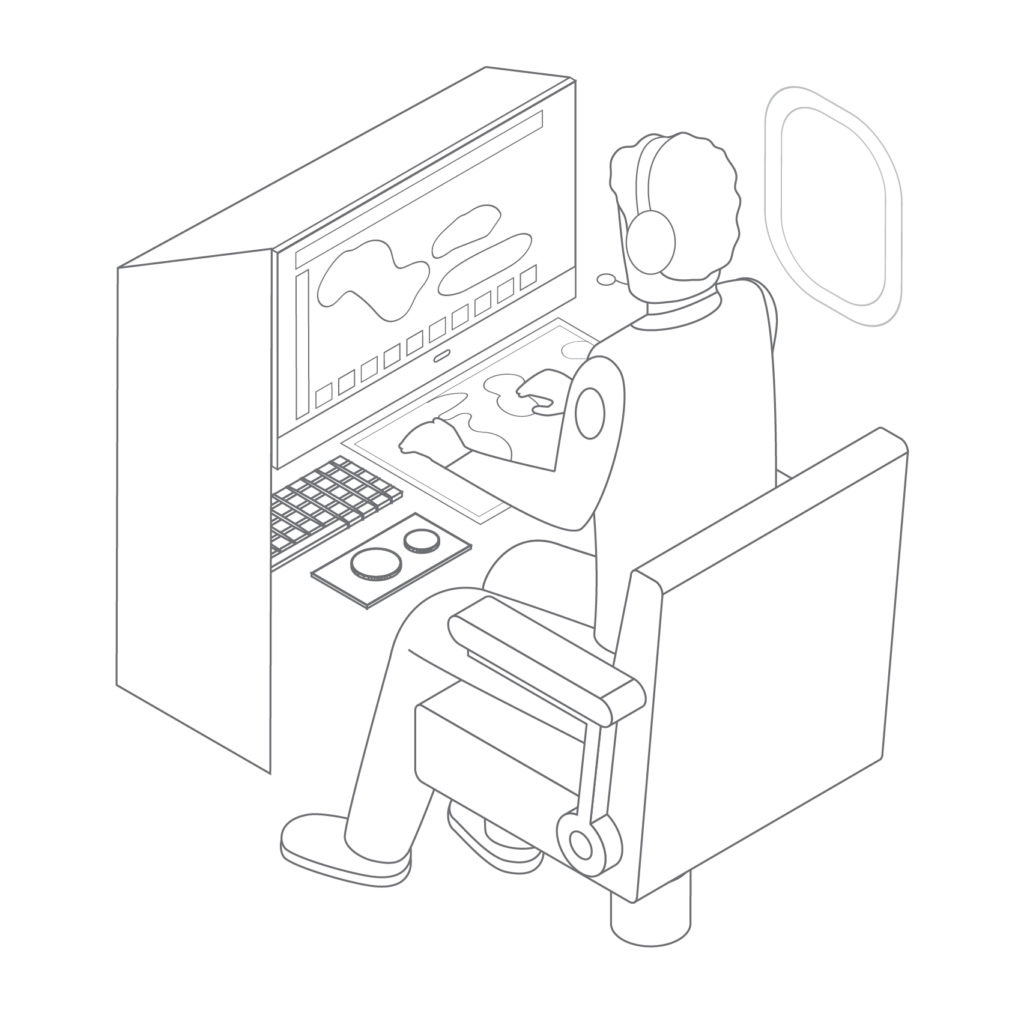
Key Factor #7: Display Viewing Angle
Another important factor related to crew ergonomics is the ease with which the display can be read off-angle.
Available space within the aircraft often imposes constraints on the placement of the mission console. Dual displays are sometimes placed side by side such that one faces the operator directly, while the other is off to the side. If the secondary monitor does not tilt towards the operator, it’s important to determine that the screen can be viewed in all lights (day & night) from the operator’s seating position. Similarly, the mission conops may require the capability to have an observer onboard looking at the operator’s displays.
Often, the more acute the viewing angle, the darker the screen becomes. This is also true for smaller displays that are offset or may be situated on a flip-out panel to the side of the operator’s seat. In such cases, efforts must be made to make sure the screen is viewable from the observers’ positions without having to tilt unnecessarily or adjust the seating position.
Poor monitor viewing angles can easily lead to excessive fatigue if operators must adjust their position to read the display.
Key Factor #8: Task Automation and Simplification
Simplifying operational control should always be a goal when choosing an MFD. A simple, intuitive user interface reduces operational stress and makes tasks and processes easier to accomplish.
Look for remote I/O programming options that allow you to program your I/O channels to control peripherals, like data recorders and sensors. One-touch control of such peripherals simplifies operator workload.
For example, being able to switch the mission data recorder on or off directly from the MFD allows operators to maintain focus on the screen. They’ve no need to divert their attention to the recorder.
Another example is Day/Night/NVIS operability. The MFD can be programmed to set all connected equipment to day, night or NVIS mode at the flick of one switch. This saves the crew time and reduces possible confusion, as they don’t have to set each device manually.
Also, look for displays that use a custom bezel approach. Employing hard and soft key buttons, this approach provides shortcuts to functions that would otherwise require several keystrokes. Examples of these pre-programmed functions include one-touch access to various sensor inputs, and screen sharing with colleagues, either onboard or via downlink.
Bezel button design is very important. Buttons need to have a tactile feel so that an operator wearing flight gloves can easily feel and operate them without slipping. The button ‘click’ is also important as it provides feedback to the operator. Raised separators between buttons are useful, and backlit buttons are essential for night ops. Dimming of the bezel button backlighting should be part of the global dim control.

Key Factor #9: Touchscreen Technology
Touchscreen technology enables simplified operation and will be familiar to those using smartphones, tablets, and other devices that provide a pinch/swipe interface for zooming and panning.
Mission management systems like AIMS-ISR, moving maps, and other applications are taking full advantage of touchscreens to enhance operational effectiveness. They minimize the time needed to zoom and pan compared to positioning and clicking a mouse cursor.
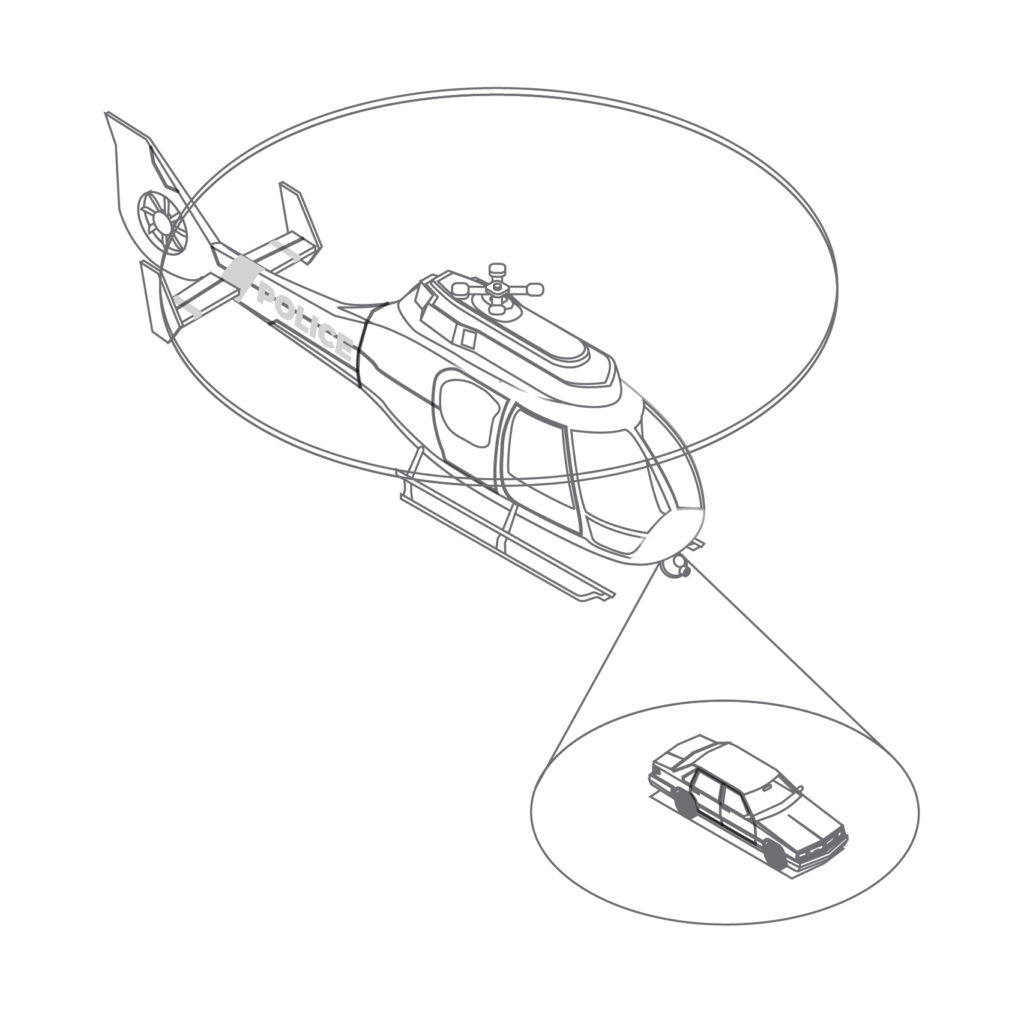
In law enforcement, for example, operators prefer the use of touchscreens and bezel buttons over keyboard and mouse to increase efficiency in capturing criminal activity in photos and on video.
When choosing a touchscreen display, it’s important to understand the differences between the two touchscreen technologies: resistive and capacitive.
Resistive touchscreen displays are more commonly found in ruggedized electronic devices, as they are more resistant to hostile environments where dirt and water ingress may be common, or where the operator is wearing heavy protective gloves.
Capacitive touchscreens are more often found on tablet devices like the iPad.
Feel and function are both very important. Ultimately, the customer must determine which is more effective for their operation. Common questions to focus on are:
- Is the screen responsive enough to the touch of the operator?
- Is the use of a stylus required?
- Does the screen react adequately when the operator is wearing gloves?
- Are multi-touch gestures being used (pinch and zoom) for the map?
- Is the right click menu easy to access?
- Can the touchscreen be easily calibrated?
- Is the surface responsive and accurate near the edges of the screen?

Key Factor #10: Divided Screen Options
Consider the increased mission flexibility of displays that offer quad-screen, split-screen, side-by-side, and picture-in-picture display options.
Many operational scenarios will require input from a variety of sensors and systems to be displayed simultaneously. Having a variety of multiple-picture options means operators are not forced to look from display to display or switch back and forth between video inputs.
With a thorough understanding of the CONOPS and operator workflow, the system integrator can use these various divided screen options to design a display system that:
- Reduces operator workload
- Enables faster task processing
- Maximizes the efficiency of the operator and the system
Key Factor #11: Environmental Exposure and Ruggedness
Consider whether the display must be installed in a location prone to water, dust, smoke, salt spray, or other environmental elements.
In such cases, be sure to consider displays that are cooled passively. Look for the presence of sink fins or mounting heat plates. Likewise, look for the absence of cooling fans and vents, which allow penetration of materials that can foul the electronics within.
Passively cooled technology is typically used on displays that consume the least amount of power (minimal heat dissipation). In contrast, displays designed to operate in high-temperature environments with high reliability over long periods of time are likely to employ active cooling.
Also, be sure to verify true ruggedness. Look for aerospace-grade testing certifications for temperature, shock, and vibrations, such as DO-160 & MIL-STD-810. These qualifications provide evidence the product has been engineered to withstand operations in the platform’s environment. They also indicate the display has been manufactured with durable components for reliable, long-life survivability in the most demanding conditions, whether in the air or on the ground.
Key Factor #12: Manufacturer’s Track Record and Service Features
When comparing manufacturers, give preference to those with a proven track record for high-quality products and reliable service.
Review the company’s case studies and testimonials for third-party verification of that success record. Look for direct quotes in their marketing literature from integrators who provide useful feedback. Talk to their customers, if you can; try to get a feel for their level of satisfaction.
Make sure the manufacturer has a dedicated service and support department. Speak to their support representatives. They should be able to offer expert advice on all aspects of product specifications and integration. Also, check to make sure they offer satisfactory warranty options.
Finally, try to select a manufacturer with a compliant aerospace standard (AS9100D) quality system to ensure they’ll deliver what they promise when you need it.
Conclusion
As you can see there are many factors to consider when choosing a new mission monitor display. Bear in mind, however, that you have many MFD choices available to you. It’s a good idea to have a set of criteria you can use to evaluate those choices objectively.
So, if you are currently shopping for a new mission monitor display or expect you will be soon, be sure to have this guide and the accompanying checklist handy when you are evaluating candidates.
Click here to download your PDF guide.
Download Printable PDF
Download the PDF version for printing and sharing.
A Thank You to Our Partners
CarteNav Solutions would like to thank all our partners and suppliers who contributed their expertise to make this guide possible.